
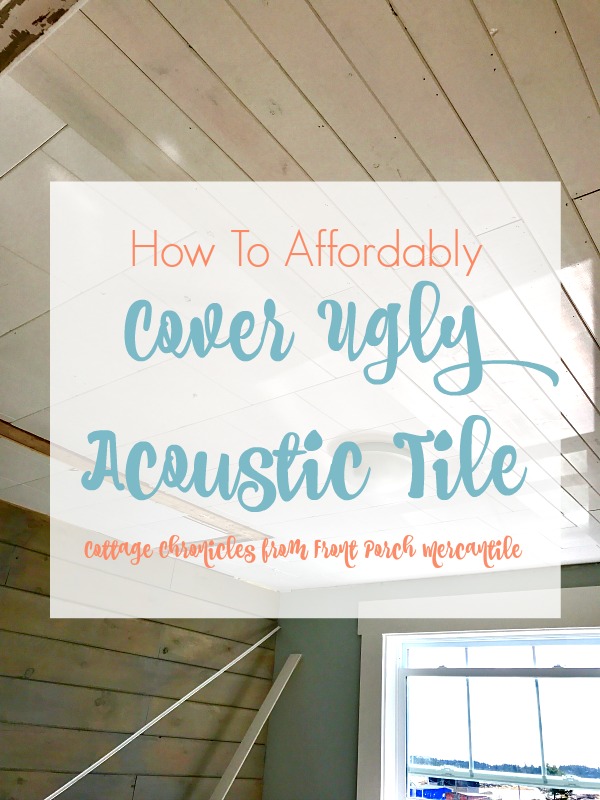
How To Affordably Cover Acoustic Tile Ceiling
What to do about ugly acoustic tile on the ceiling? As many of you know, we are moving super soon to our tiny cottage by the sea. We’ve sold our home and we’re making the big move. It was a romantic idea at first. As a cottage, it is simple and lovely. To live full time, it…

What to do about ugly acoustic tile on the ceiling? As many of you know, we are moving super soon to our tiny cottage by the sea. We’ve sold our home and we’re making the big move.
It was a romantic idea at first. As a cottage, it is simple and lovely. To live full time, it needs work. A lot of work.
We’ve been working away, adding new larger efficient windows last winter and we are making plans for the rest of the house. We realized we needed a family room, office and a guest room. Our tiny front bedroom (with a pretty awesome view) was perfect to become the new cottage office. This room is a priority as I need a space to work, and I work best when things are orderly.
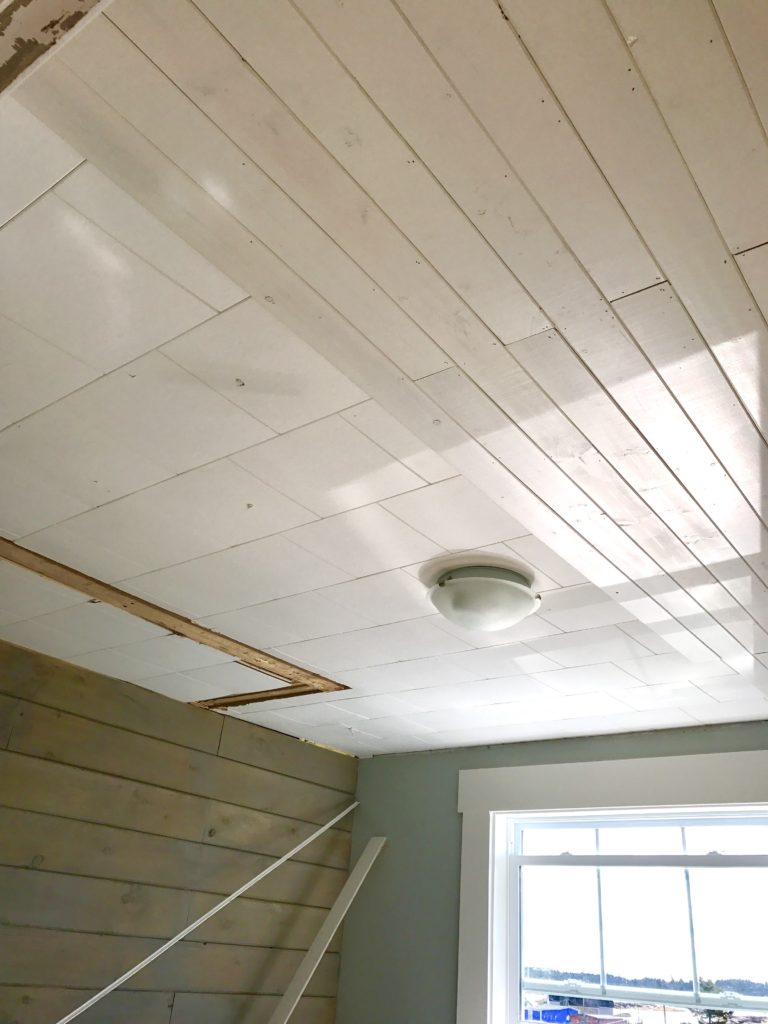
We tore out a closet and planked a wall. Many of you have been following along on Facebook as we planked – laughed – and painted live. The acoustic tile ceiling was ugly and it was time for it to go.
You can see below the acoustic tile and where we tore out a closet. I forgot to take a full-on before picture, but you can see the tile in this picture. It was old, stained and ugly. The cheap light was added when we did the first round of updating and renovated to make it cottage rental ready, but it’s getting the boot too!
I will admit, this was a harder job than we thought. It’s easy to forget this cottage is over a hundred years old, but shows her age when there is not a straight edge or flat ceiling to be found. It sags and weaves and is crooked. It adds character, but does make renovations harder. Anyone else have these old house issues?
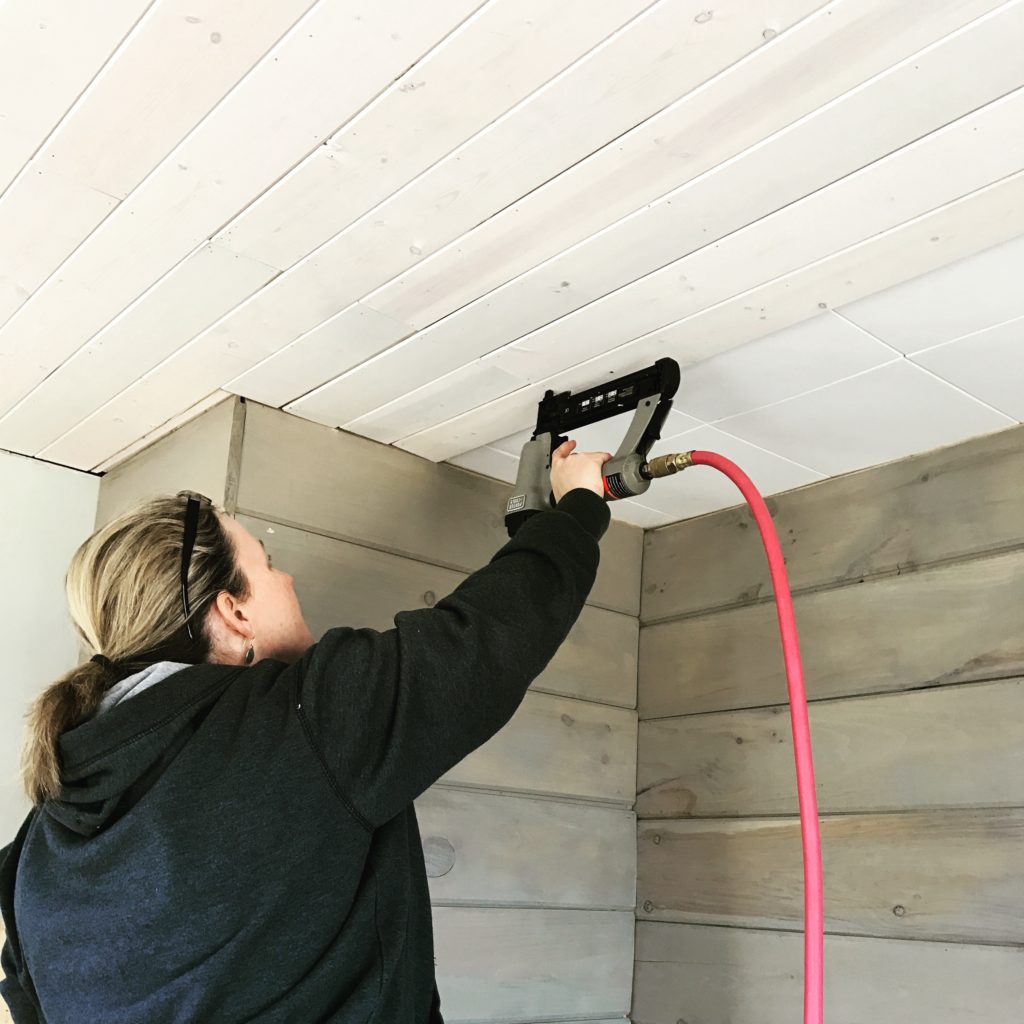
We used tongue and groove pine planks. Very inexpensive. The total for this job was under 60$
We primed the planks first, and then painted 1 coat with Benjamin Moore Cloud White before putting the ceiling up.
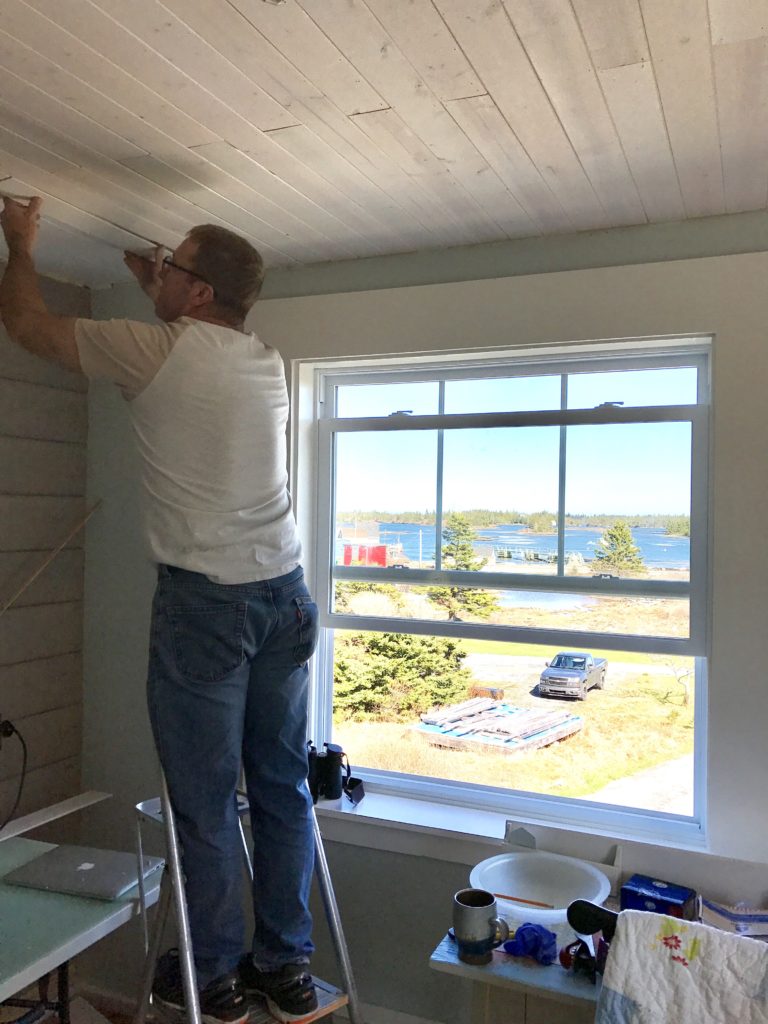
Keeping them straight was the hardest part in this crooked room. Bad angles and sagging ceiling means they wanted to go sideways. The beautiful view helps keep our spirits up here. lol.
After a few hiccups, Mr. FPM was able to get them straight and they went up fairly easy. “Normally” we would fill the nail holes and do a final coat, but we decided to just paint the second coat on and leave the nail holes. They are not overly visible, and I LOVE the way they don’t feel perfect. The house is old, and I while I wanted to updated the accoustic tiles I still want it to look like an original part of the house.
Ok. “Fairly easy” is not true. It was hard to keep them straight, with lots of adjusting and twisting, this is a two-person job.
I did finally get to learn how to use the nail gun. I’m not sure why I have not used it before, it was fun! We like to use a nail gun similar to this one.
I think now that I’ve used the nail gun it will be making an appearance on more projects around the cottage.

We still need to finish the trim around the ceiling, we are just using cove molding.
So below is the “during” makeshift office. I’ll be so happy to finally get moved in here and make it a real office. But, I’ve always “kept it real” with you friends, so here is the messy reality of my office. We’re slowly getting renovations done, life and work, and living in 3 locations can wear a girl out. Thankfully we have a lifetime or at least the winter to finish this.
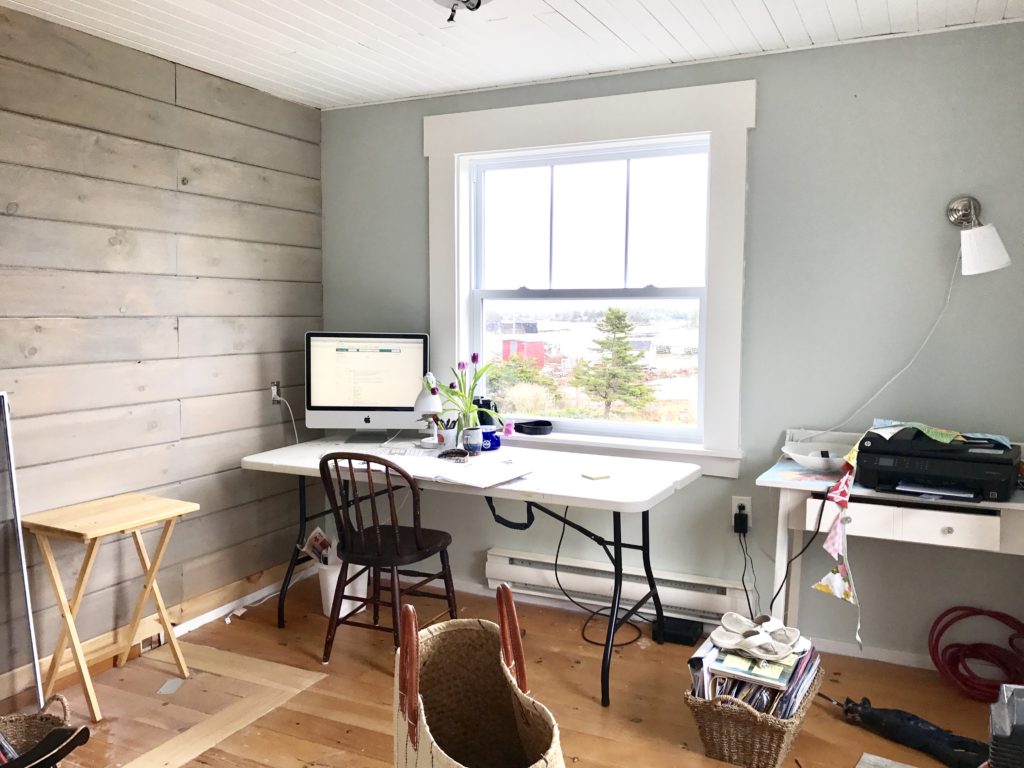
I still have a ton of things to do in here to make it functional as you can see!
My plans are:
- build or buy a desk for under the window
- buy or build a bookcase
- add a small loveseat that pulls out to a single bed for guests
- a comfy chair
- find a pretty and small filing cabinet
- add shelving
- add a rug
- find a light
- a cabinet for storage
- window coverings
This room is going to have to work hard for us. I have a studio in town, but I do a lot of work and coaching from home. We value a sunny and warm space for reading and this room is the sunniest, has the best view and is beautifully sunny – especially in winter.
Have I mentioned the room is only 10×9? We are going for clean and cozy, while making efficiant use of the space.
I hope to post all cottage room updates as we go along and chronicle all our cottage adventures. We will be living back and forth between New Brunswick and Nova Scotia for a while yet, staying in NB at our beach cottage. We have some updating to do there too. Living in 2 cottages is kinda crazy, but that seems to be how we roll.
I am secretly hoping Mr. FPM will help me plank some more ceilings, there are no more acoustic tile ceilings but there are a lot of blank ones, but first I need him to forget how crooked this one was haha.
Thanks for popping in, as always, love your comments, any suggestions on lighting for this room?
I’m stuck.
Cheers friends,
Wendy

Hey with a view like that you might want to work there all day :) Great job n a perfect seaside look.
Are you for hire:):):):)Continue dreaming n enjoy the ride .
Looks great, Wendy. Nice to meet you on the flight from Toronto in late July. I may make it down to Lunenburg the second to last week in August. If so, I’ll pop in to the new shop.