
How to Plank and Paint a Wall on a Budget
Plank a wall on a budget. Easy peasy. Sixty bucks. $60. One hour buying the ship lap. One afternoon with hubby and his saw. One evening painting while watching HGTV! And….done. Easy. Peasy. For real, this is a great way to add a bit of something-something to your space. You know I love a plank…

Plank a wall on a budget. Easy peasy.
Sixty bucks. $60.
One hour buying the ship lap.
One afternoon with hubby and his saw.
One evening painting while watching HGTV!
And….done.
Easy. Peasy.
For real, this is a great way to add a bit of something-something to your space. You know I love a plank wall. I’ve done a couple of them before, at the shop and home.
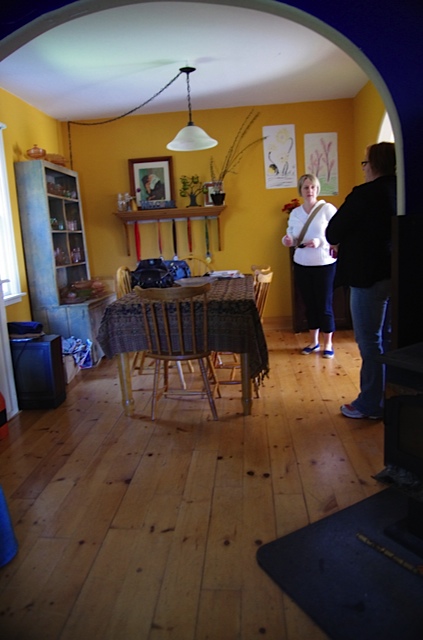
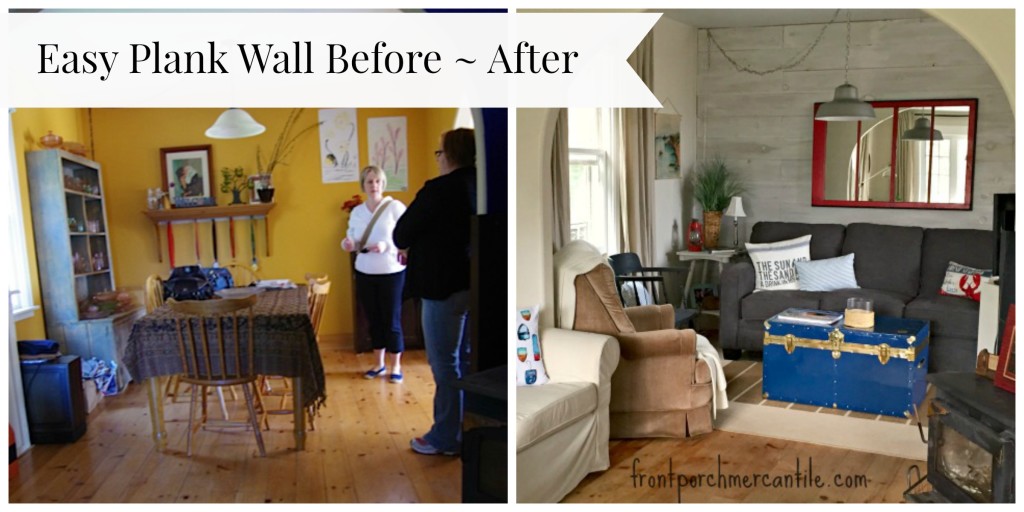
Here is what this room looked like before our new plank wall. Sorry, the only before picture I have is from the very first time we looked at the house when it was for sale a few years ago, let’s all have our laugh at me and move on shall we?)
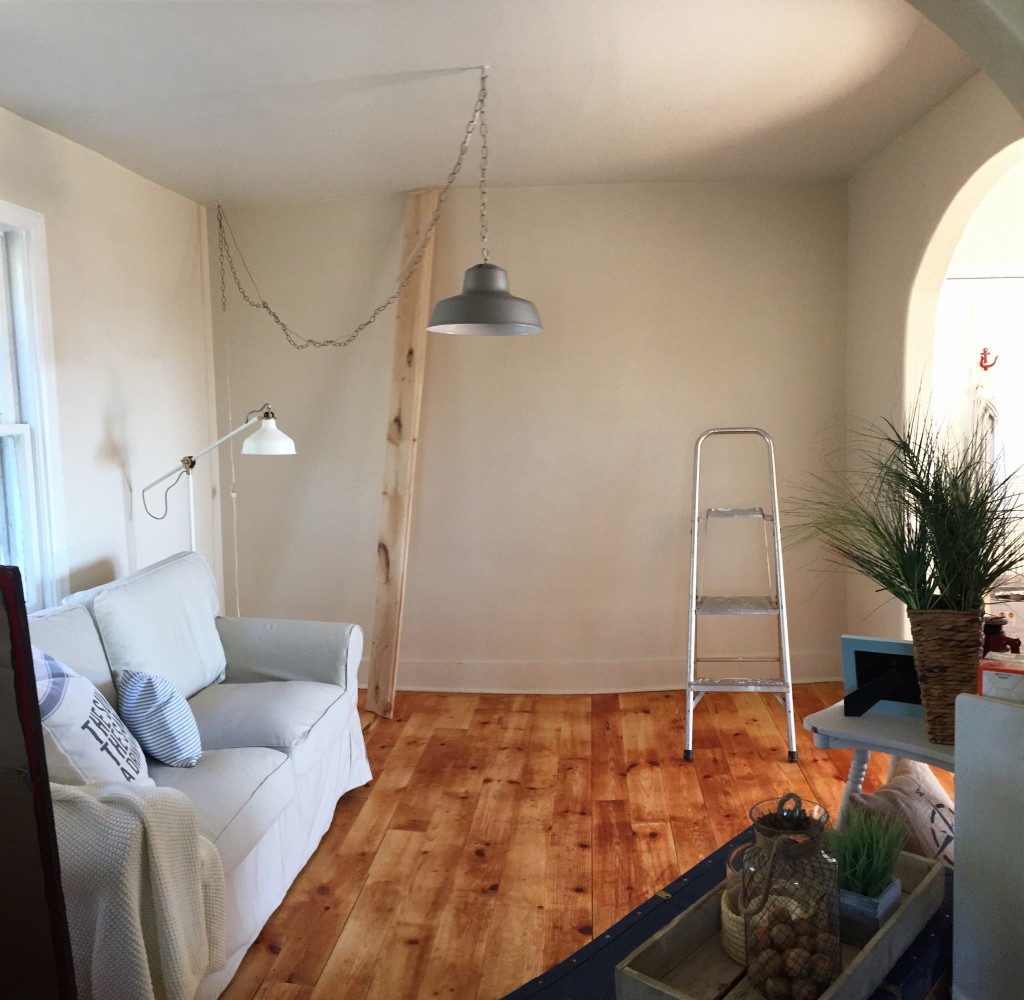
This is what it looked like right before we started the plank wall.
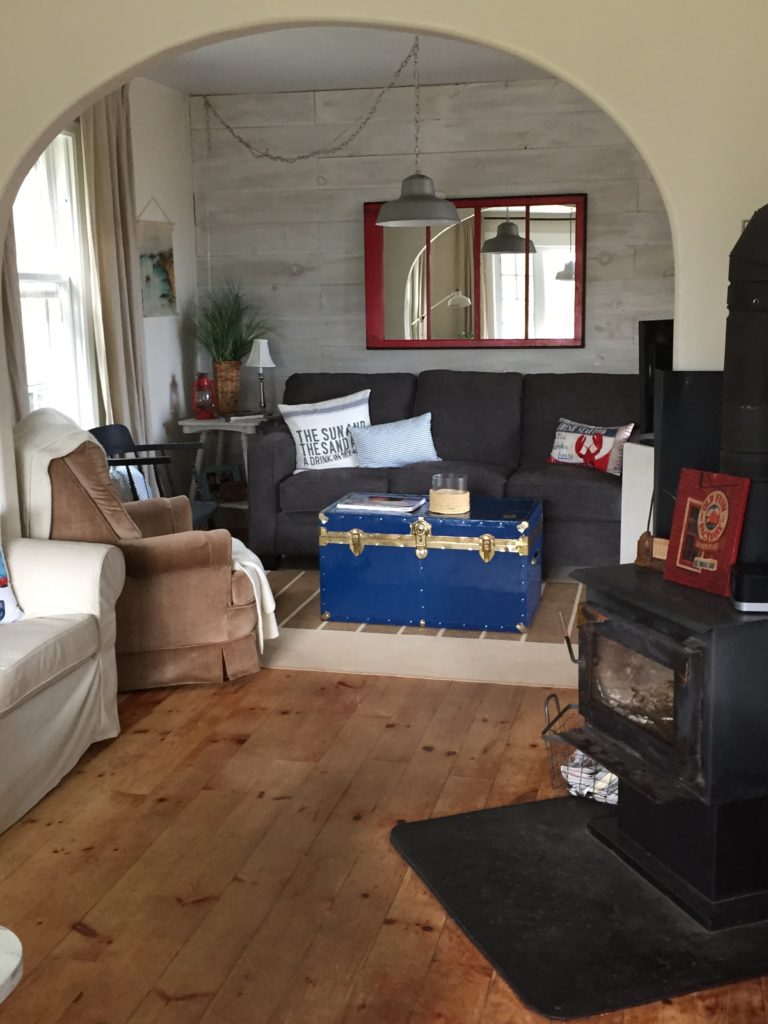
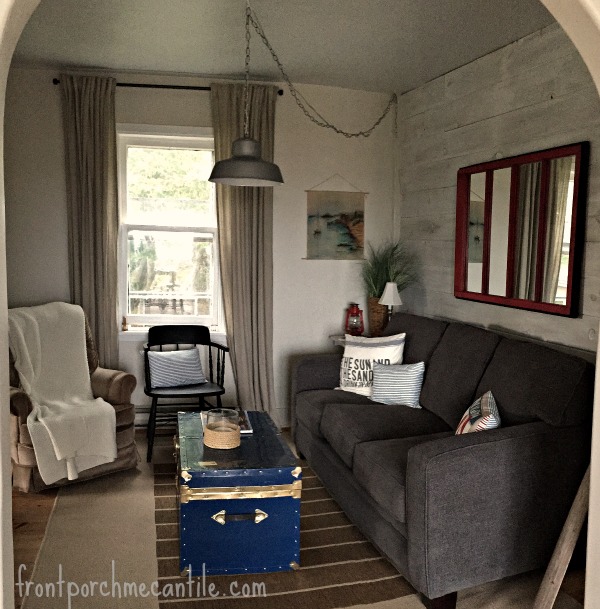
Here’s the after (2015). A cozy wall that’s super easy and cheap.
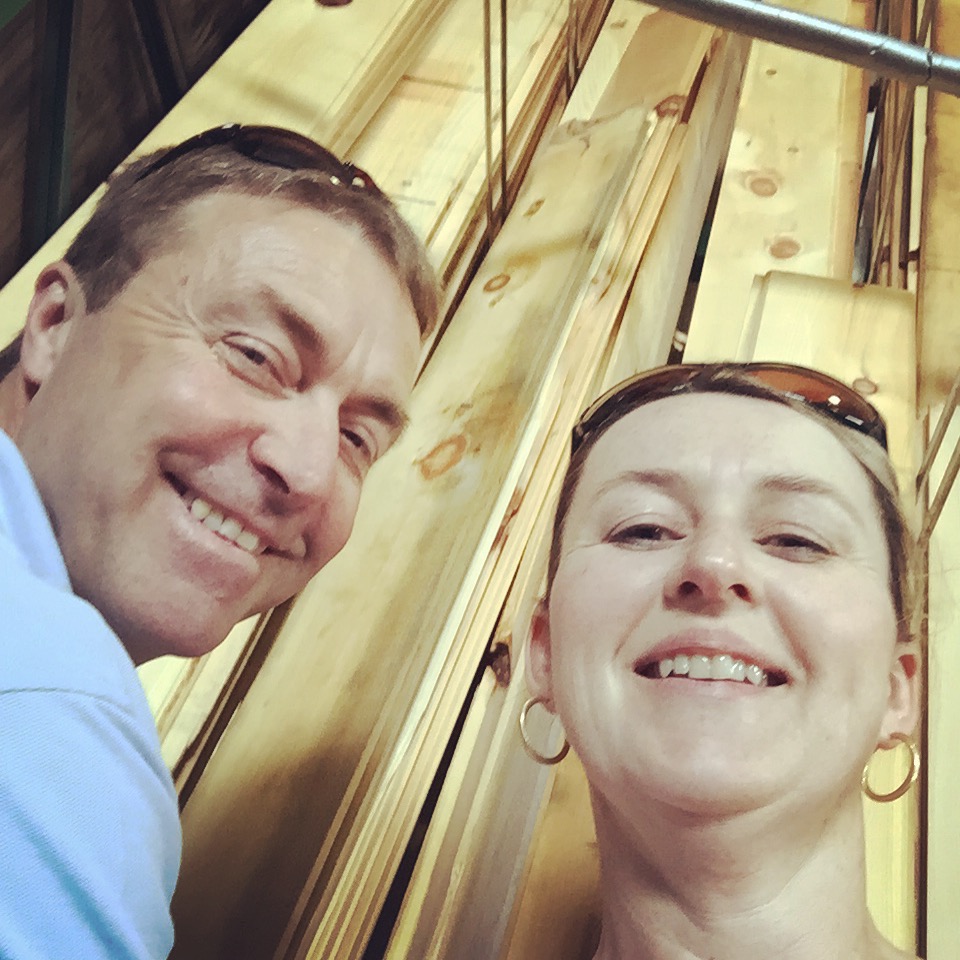
This project is easy. We bought shiplap this time (honestly, only because Joanne Gaines has shiplap, and I wanted to use shiplap, and say shiplap like Joanna uses, for real, that WAS my thought process) BUT, it is cool and easy and fun to use. We have used plywood for other projects. You can see those here. Here’s a dorky picture of Mr. FPM and me on a date night, buying shiplap and exhausted from renos. It’s how we roll.
Shiplap (see…I get to say it again) comes in different width, we used 8-inch boards, but we also did a planked kitchen wall and only 6-inch boards (because that’s all they had in stock) you could also use plywood like we did in our bathroom at home and at the shop. honestly, we would probably do that again as this was awesome but costs a wee bit more than plywood. Total wood costs here was a little under $60
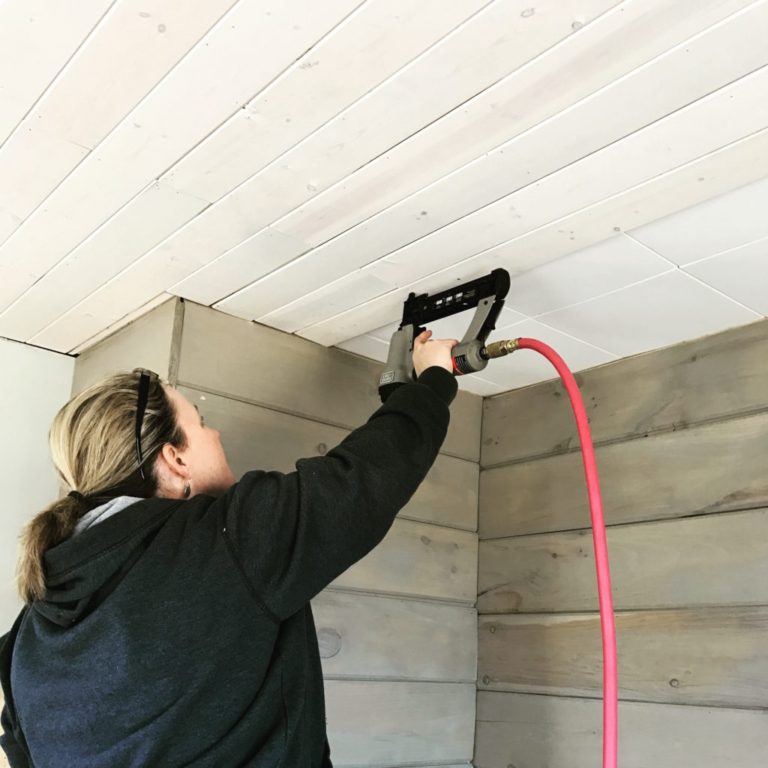
Mr. FPM simply cut the pieces to fit the wall. We started at the top so the lines would be straight. This is important as most older homes are not straight. There was a bit of a gap at the ceiling and we planned to use cove molding or corner round, but never got to it and it looks fine.
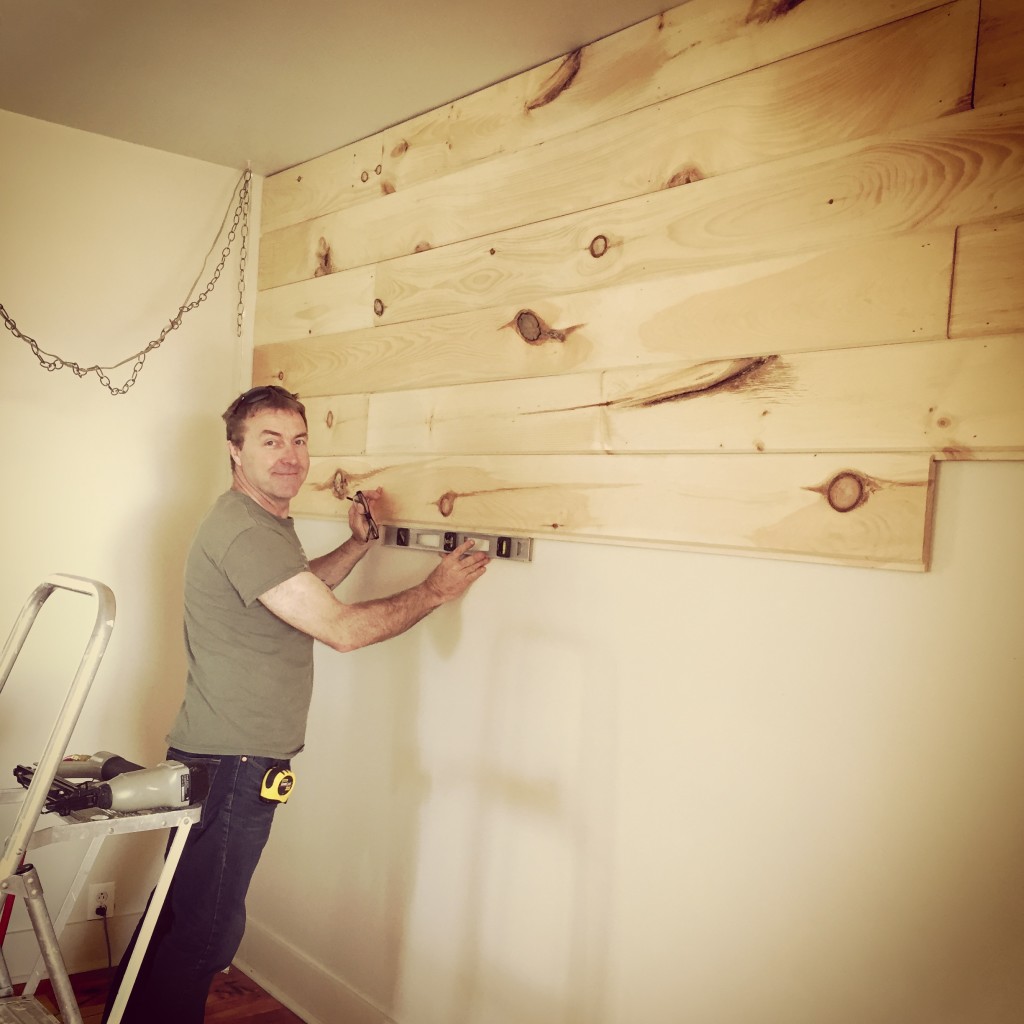
We staggered the lengths so it would look random. Checking for level as we went along. Hubby used a nailer to put them in place. It went fairly fast. I will admit, I didn’t help with this part. I wasn’t sitting on my bum eating bonbon’s, we had a lot of projects on the go trying to get the cottage ready. :)
On a side note, two of our favourite things we use to renovate is our plain jane step ladder similar to this. Its lightweight and portable, we’ve had others but they are too heavy for me to lug around easily. We also love our handy dandy nail gun similar to this one. We have planked a lot with these tools and honestly make it much easier and more time efficient.
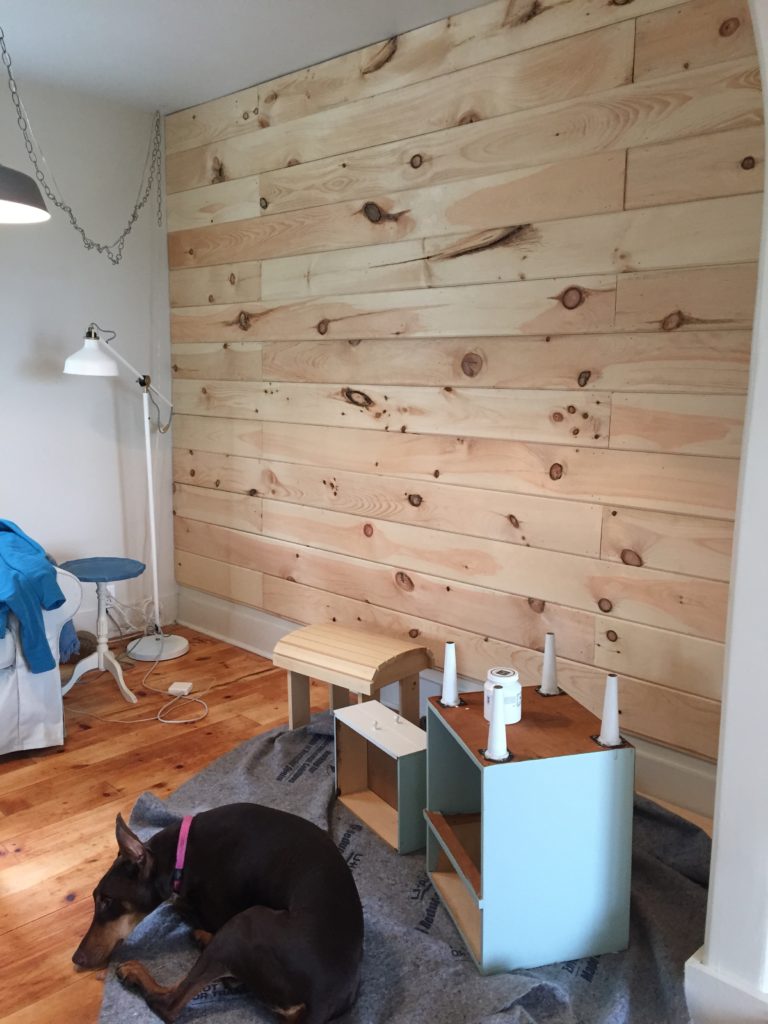
Here is the finished planked wall. Excuse the painted pieces and sleeping dog. This is Lola’s blog debut. If you know Dobermans, you know they love to be close, she’s ALWAYS underfoot when we are renovating, she may or may not have paint on her most of the time. Real-life.
I was now on deck to begin painting!
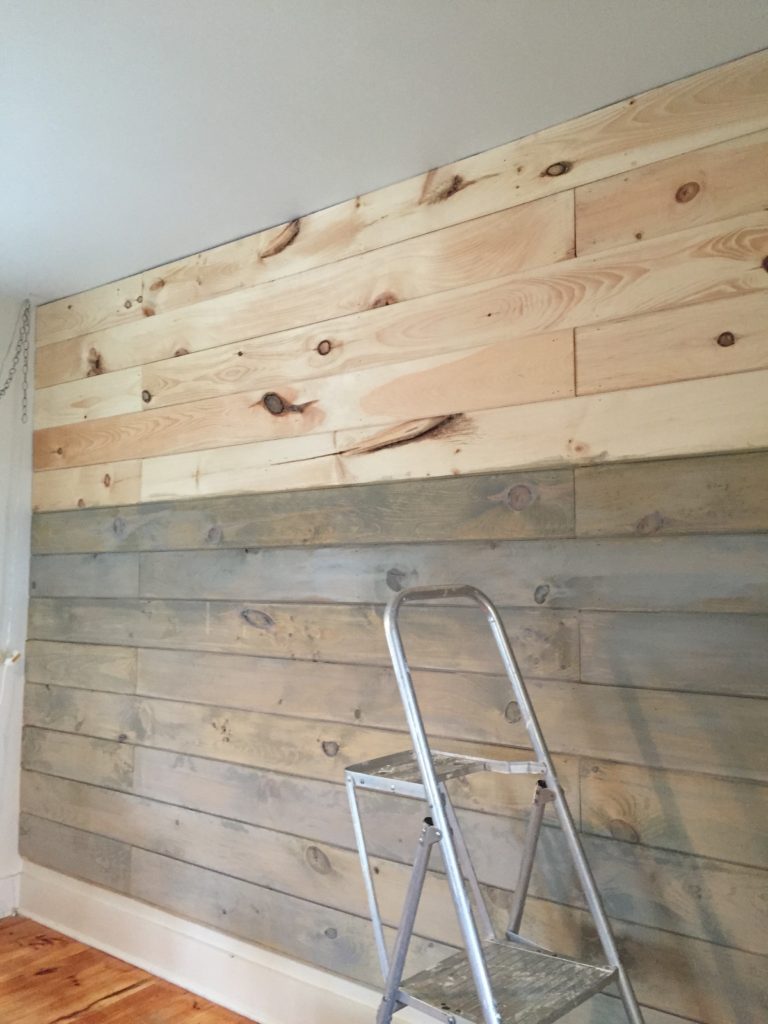
We left the knots untreated as I wanted them to show through and look natural, in hindsight I wish I had shellacked them as (3 months in) they are bleeding through more than I would like. But they are still ok. It still looks good.
I stained the wall with Miss Mustard Seed’s Milk Paint in Trophy. I neglected to bring a paint bucket so had to mix it up in a flower pot. Weird but, we were just renovating and well….we do what we can with what we have :)
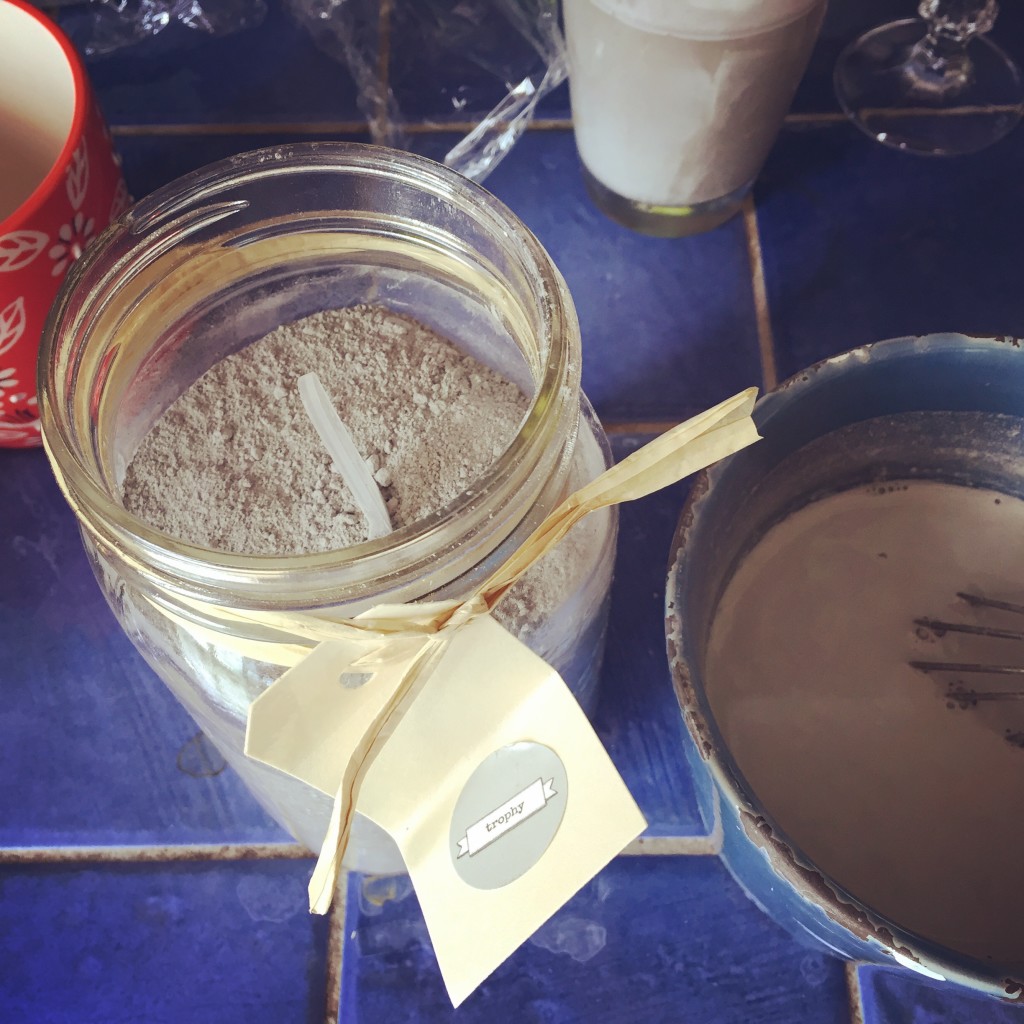
I like to test the strength of my stain on sample boards before I do on the wall. This mix was about 2 parts water and 1 part milk paint. Wiped back.
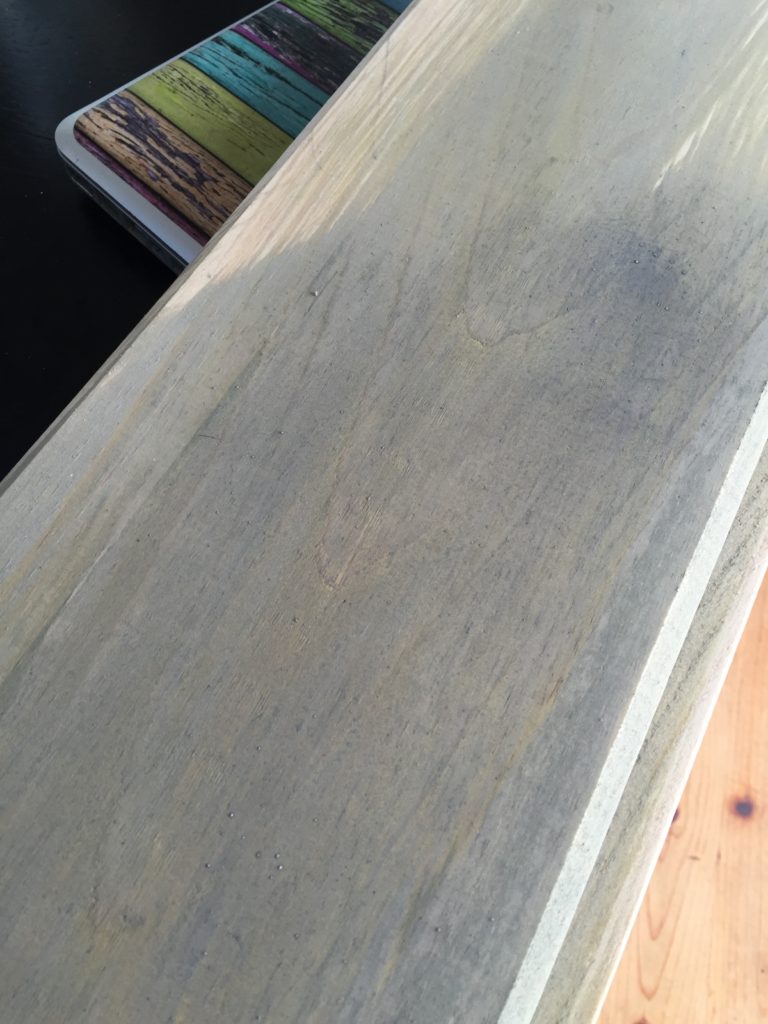
Staining the plank wall with 100% all-natural milk paint (safe and awesome)
The plank wall now stained

After the wall was stained I used chalk-style paint and wet ragged on. That always sounds so much harder than it is. I used a wet brush, warm white chalk style paint, brushed and then ragged it off. You can use any watered-down white paint. Easy. Peasy.
Move quickly and confidently in this step and just go for it.
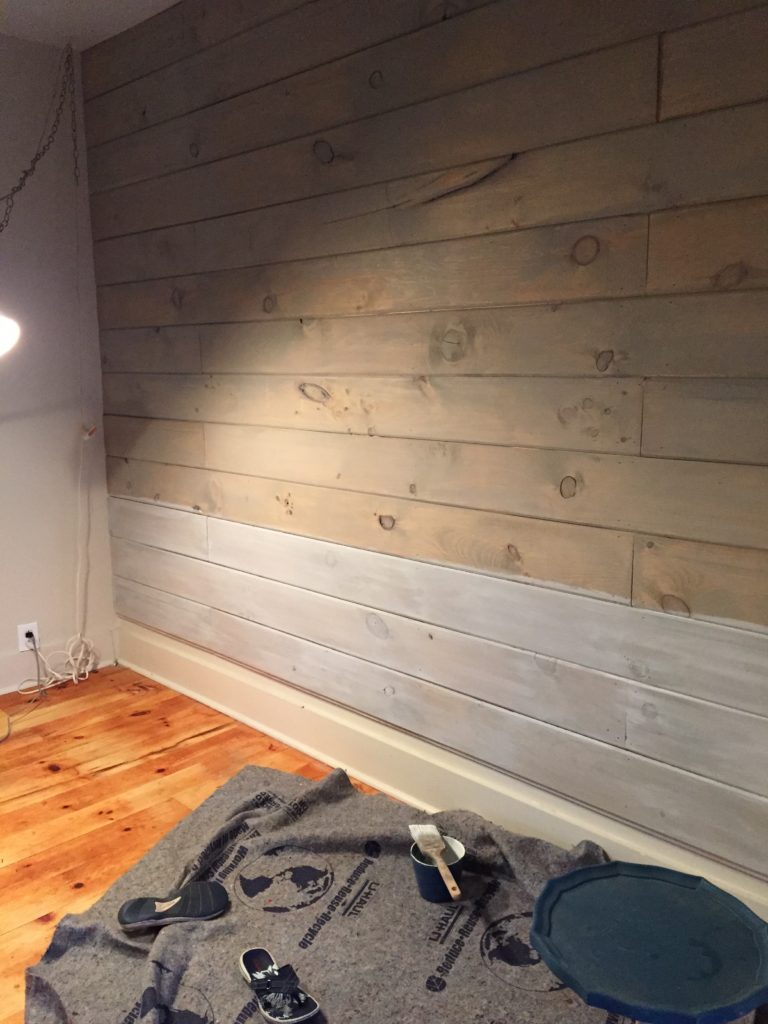
I’m so sorry about the poor quality lighting. We did 300 (yes I counted) projects in 3 weeks and this was finished at night and I just snapped a couple of pictures as I worked.But you get the idea. I know professional bloggers are cringing. But seriously folks, this is our real life on the fly.
I love the texture and warmth it gives the space.
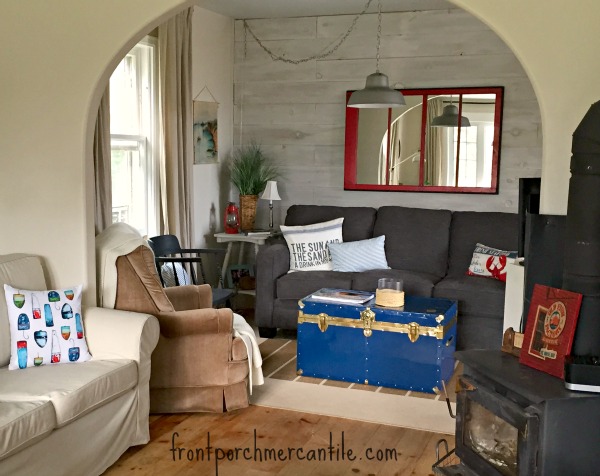
We originally had that lovely white Ikea couch up against the wall, it was beautiful, but impractical so the dark grey couch is now there. Someday I will blog about how I failed the Ikea white couch trend.
Sigh. Real-life 1, Pretty couch 0.
Anyhow…I have a few more (like 280) projects from the cottage to post. There are some pretty funny before/afters in there, so stay tuned!
Have you ever planked a wall? I’d love to know what wood you used? Shiplap? Planks? Plywood?
Thanks for popping in, I am so grateful you are here.
Cheers,
Wendy
ps…for those confused by shiplap and tongue and groove, here is the difference. Either is great on a wall, and there are also lots of other ways to achieve the look.

*affiliate links are in this post. Please click here to read the full disclosure and privacy policy.

LOVE the planked wall – will need to do this in my house somewhere!! I had never even heard of shiplap, until Joanna Gains! I laughed at your doggy story – my pup is the same, he’s a beagle/bulldog mix and needs to be right beside you – needless to say his floppy ears have paint on the tips most of the time! lol
I love it and I love the way your new couch looks in that space too! I totally want to go visit and sit and have tea. Or wine…you get the idea.
This looks great. I have never heard of ship lap before. We have a ceiling to redo and I’m thinking this would be easier and cheaper than drywall. Where did you buy it?
Love this look :-) Definitely considering shiplap for our future house :-) Thanks for the inspiration!
Hi Donna, this is in fact ship lap, tongue and groove fits “into” one anther, ship lap lays over or laps over. They are so very similar. But as you put one piece up, you just lay the groove over the other board, not snapped “fitted” like tongue and groove. But this look can be done with T&G boards as well. Hope that helps.
Wendy