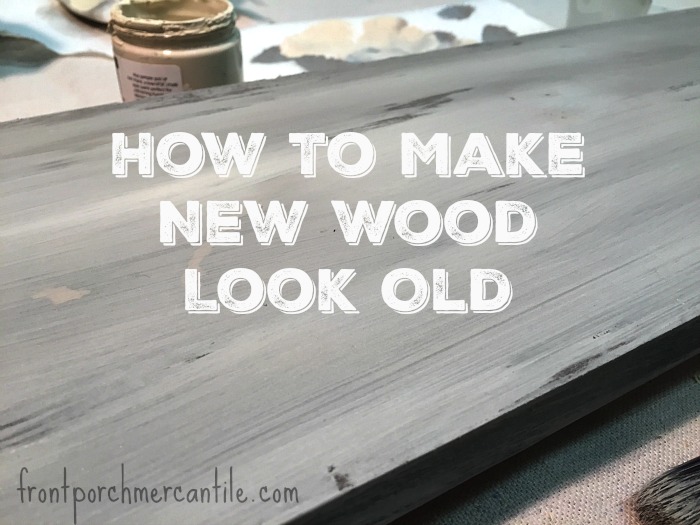
Making New Wood Look Old
I wasn’t really sure I could explain this. But I am going to try, you see, I love taking new wood and making it look old, it’s perfect if you are building something from new wood and want a reclaimed wood look or planking walls. I use a few different techniques to age wood, this…


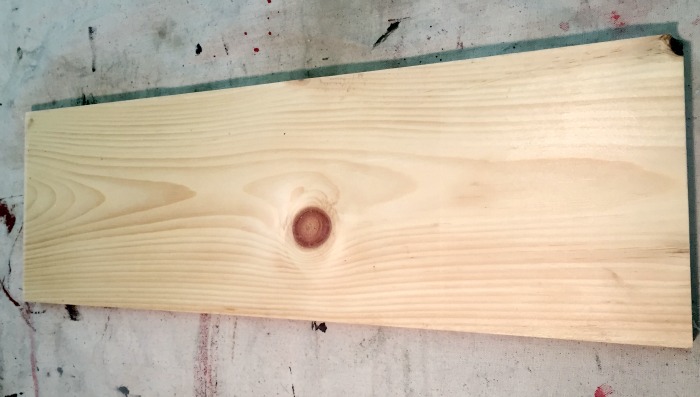
I wasn’t really sure I could explain this. But I am going to try, you see, I love taking new wood and making it look old, it’s perfect if you are building something from new wood and want a reclaimed wood look or planking walls. I use a few different techniques to age wood, this technique also works on any previously painted piece. Reclaimed lumber is not always easy to find, so why not make your own?
 Here I’m using different coloured FAT Paints to make a new board look aged and old. I will admit, I never do the same exact thing every time. You have to let your inner artist just come out.(ok – don’t freak out and stop reading right now because you are not an “artist” keep reading, this process is easy, I promise)
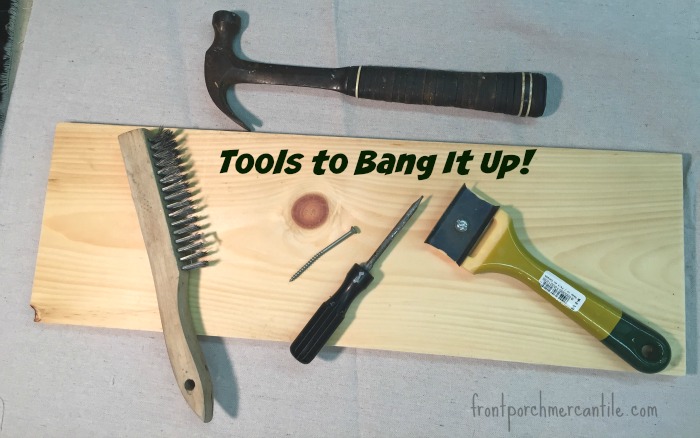
The first step is to bang up your board. This part can be fun. Like totally fun! Get out your aggression and all. I use hammers, nails, the scraper thingie (thats not the technical name but you know what I mean) and what ever else I have around. Sometimes we use chains and bang them into the wood. You really just want to mark it up. I especially like to take off the sharp edges on the sides of the boards with the scraper.
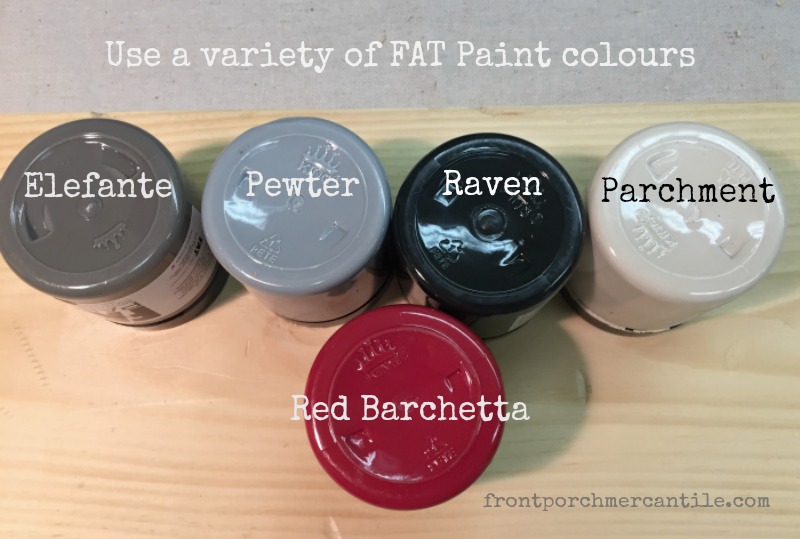
Now that that is done – let’s paint! It’s a free for all. Use a variety of paint colours, thats the trick to making it look aged. You want to give it depth. I usually start with a dark grey or brown and build up the layers with dry brushing and washing. See. Not very easy to explain. Let me try.
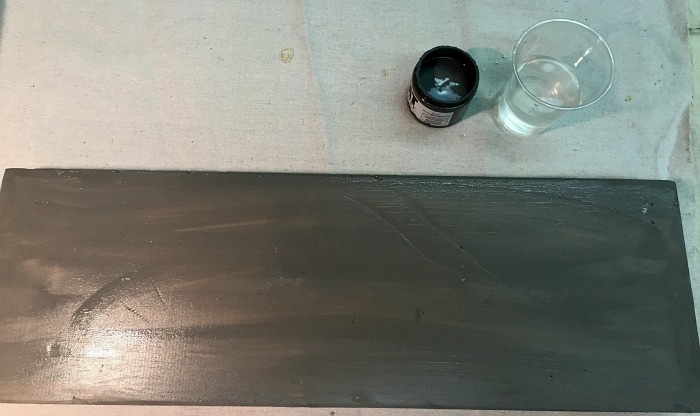
I used a variety of colours on this board. Using FAT Paint chalk style paint. Here, I used the following colours:
Red? What the? I know. But really I just used a tiny bit!
I always start with the dark colour. A quick and fast coat.
Let the base coat fully dry, and then take the Pewter (or any blue will work as well) and dry brush some on here and there. To dry brush, dip your paint lightly into the paint, then dab it off on a paper towel, then ever so lightly and very randomly just put it here and there. Don’t stress about this. Just do it.
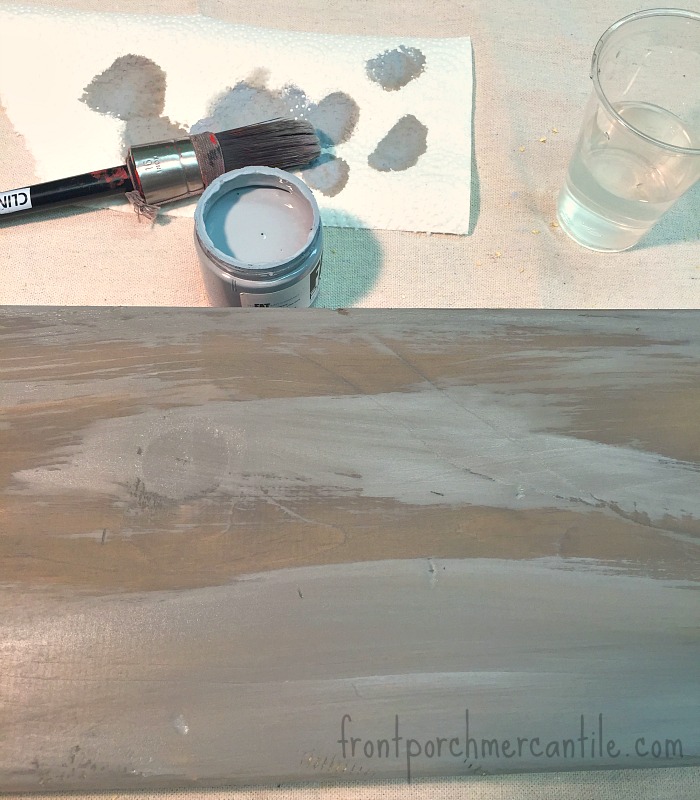
Let this mostly dry. I don’t usually wait for it to fully dry before I start repeating this process with the remaining colour, this is not a “perfect look” it’s meant to be rustic, layered and imperfect.
For this board I put a tiny bit of the red (but somehow forgot to take a photo) and then added a little black here and there. You are building depth of colour, layering and not fully covering.
I am an impatient painter, so I just go for it. Smudging and layering as I go. Because the paint is still wet, I almost get a wash effect with some layers. Dabbing paint off on the paper towel to dry brush each layer. Working left to right to keep “the grain”.
The final coat on this board is Parchment, however, because of the layers below it almost looks grey.
You could use a light grey instead, Gull Grey or even Jute would be lovely.
I always grab whatever colours we have open.
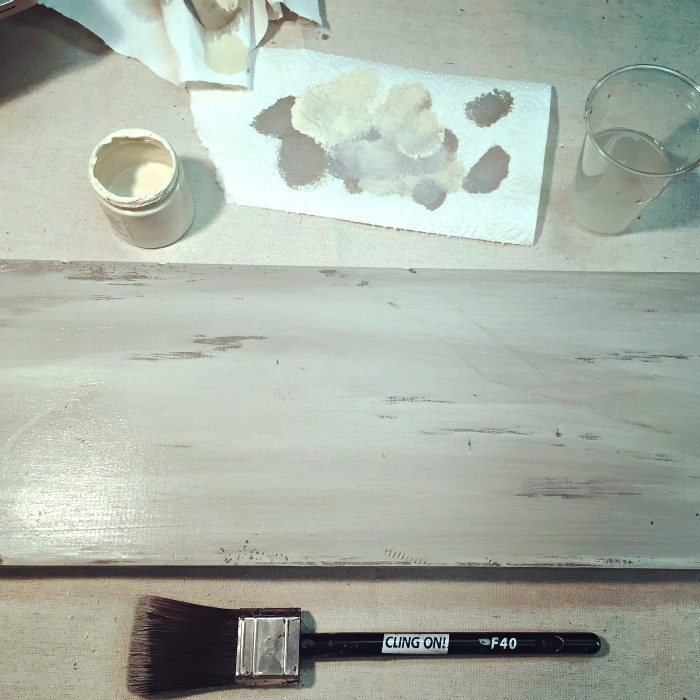
Once dried, you can heavily sand and distress your board, the top coat with clear or antique beeswax.
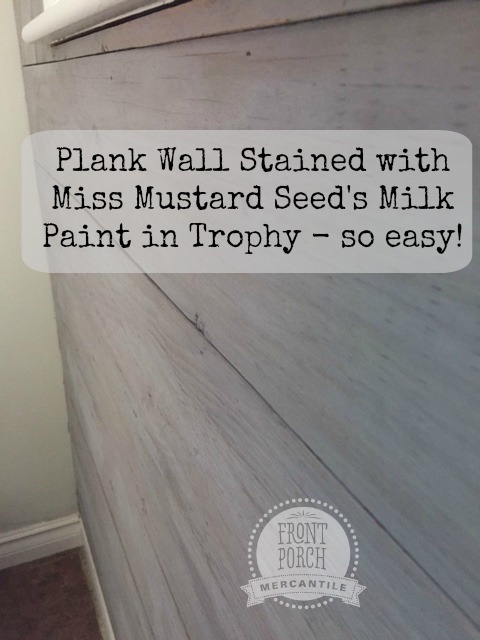
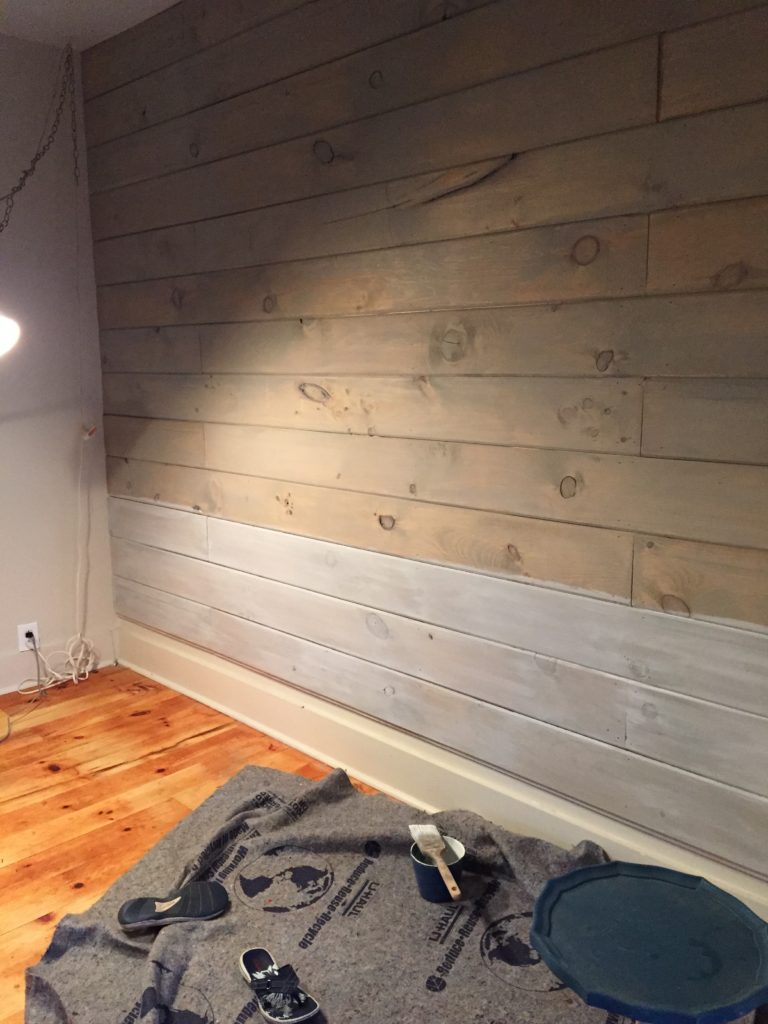
We’ve also aged wood on our planked walls using Miss Mustard Seed’s Milk Paint. You can see those projects here and here.
This wall from our bathroom reno
And this wall from our cottage by the sea.
There you have it. A few ways to make new wood look old and aged.
Easy right?
What will you do with your new old wood?
Thanks for stopping in!
Cheers,
Wendy
Linking up to


Great tutorial! You do make it look easy. Visiting from Silver Pennies link party.
Hi there. I love, love, love your work. Question – can I apply vinyl over the paint with any problem? I have a small vinyl business and I am looking for other board ideas.
Hi Tina, yes, I apply vinyl all the time, I just wait to do the top coat once the vinyl is in place :) love to see your signs, what is your business name? :)